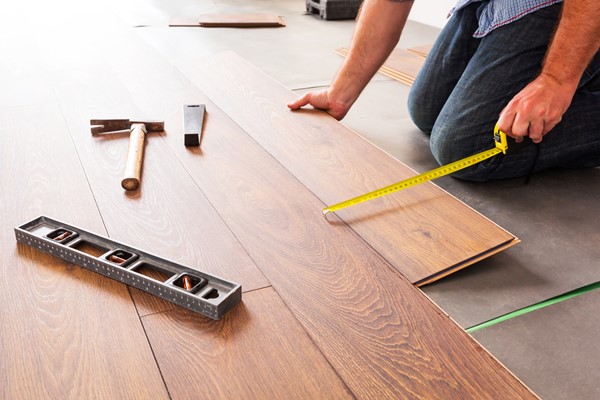
Laminate floors are the new rave in home improvement now. Not do they provide a look that is exactly like that of real wood, they also infuse a warm touch of class into your living area with ease. The best thing is that they are quite easy to install at home. So you can go to a hardware store, grab laminate flooring that speaks to you and head home to install it yourself.
What you need to do a laminate flooring installment
Here's a list of things you need to have when planning to replace your flooring yourself safely prepare for all eventualities:
- Knee pads
- 16-gauge nails
- Wood scraps
- Safety gear (masks, hard workers gloves and safety goggles to avoid flying chips)
- Measuring tape
- Nail gun
- Pry bar
- Circular saw
Apart from these, if you have someone experienced in home DIY projects to assist you, that also helps.
Step 1 – Remove the existing floorboards. Use a pry-bar to remove the baseboards that exist on the floor. If there is carpet on it, cut that at the edges and dispose of it safely. If any other fasteners are remaining on the subfloor, remove them with a pair of pliers and clean away the dust and dirt.
Step 2 – Prepare the laminate flooring. Get the laminates out of the box to set up the wood tones around the house. Get the precise dimensions of the plank and add 3/8 of an inch to allow for expansion. Mark that distance from the wall you intend to start from and then make a chalk line at the corner. Chalking enables you to have a straight line for the first run of planks.
Step 3 – Plan for custom cut boards. There will be areas across the room where you will need shorter lengths of flooring planks. Measure these ahead to know where you will make the board cuts for these areas early enough so that you are not caught unaware.
Step 4 – Install the first row. Once the flooring lines up against the chalk line you marked, ensure the tongue side faces the wall. Don’t forget to leave the 3/8-in gap between the wall and the edge for expansion and also at the end of the first run.
Step 5 – Install the rest of the floor. With the first run done, continue adding planks across the room using a tapping block and hammer to ensure a snug fit between planks and across. Check everything first before moving. Trim custom cut boards wherever necessary to get a good fit.
Step 6 – Install the last run. The final run involves ripping each board to size. A circular saw helps with this. Load the 16-gauge nails into a nail gun and reinstall all baseboards and nail these into the studs.
If you encounter any installation issues along the way, call the store, and they will direct you to a professional installer to provide you with some help.
About the Author
